Maple Walnut Scones with Brown Butter Glaze
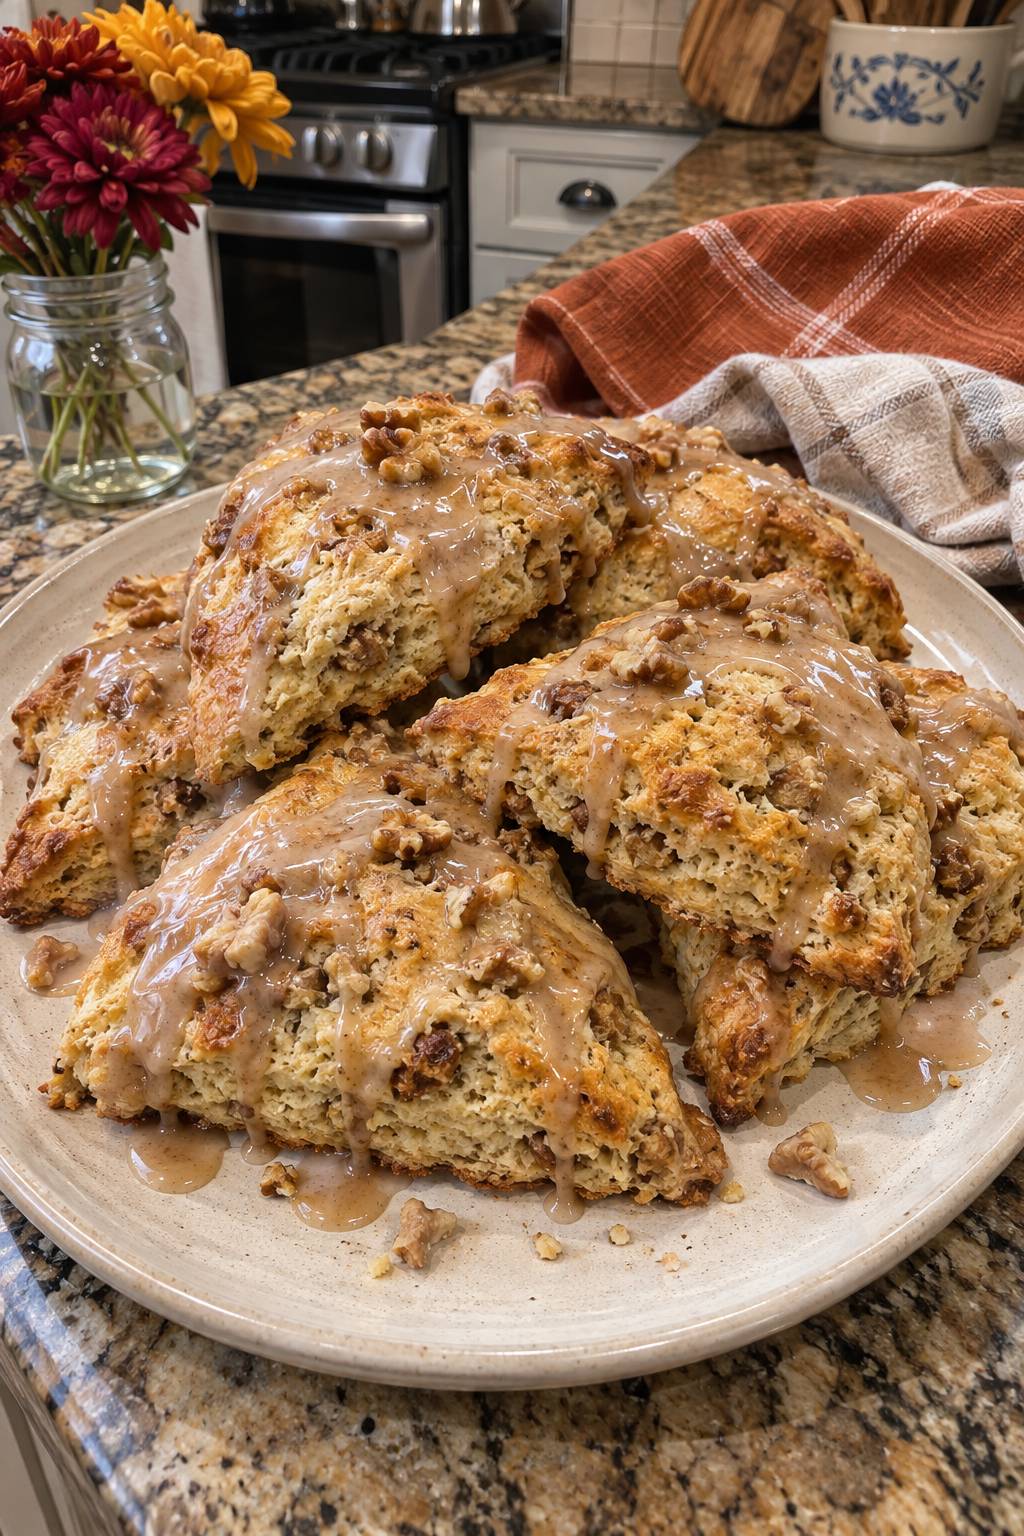
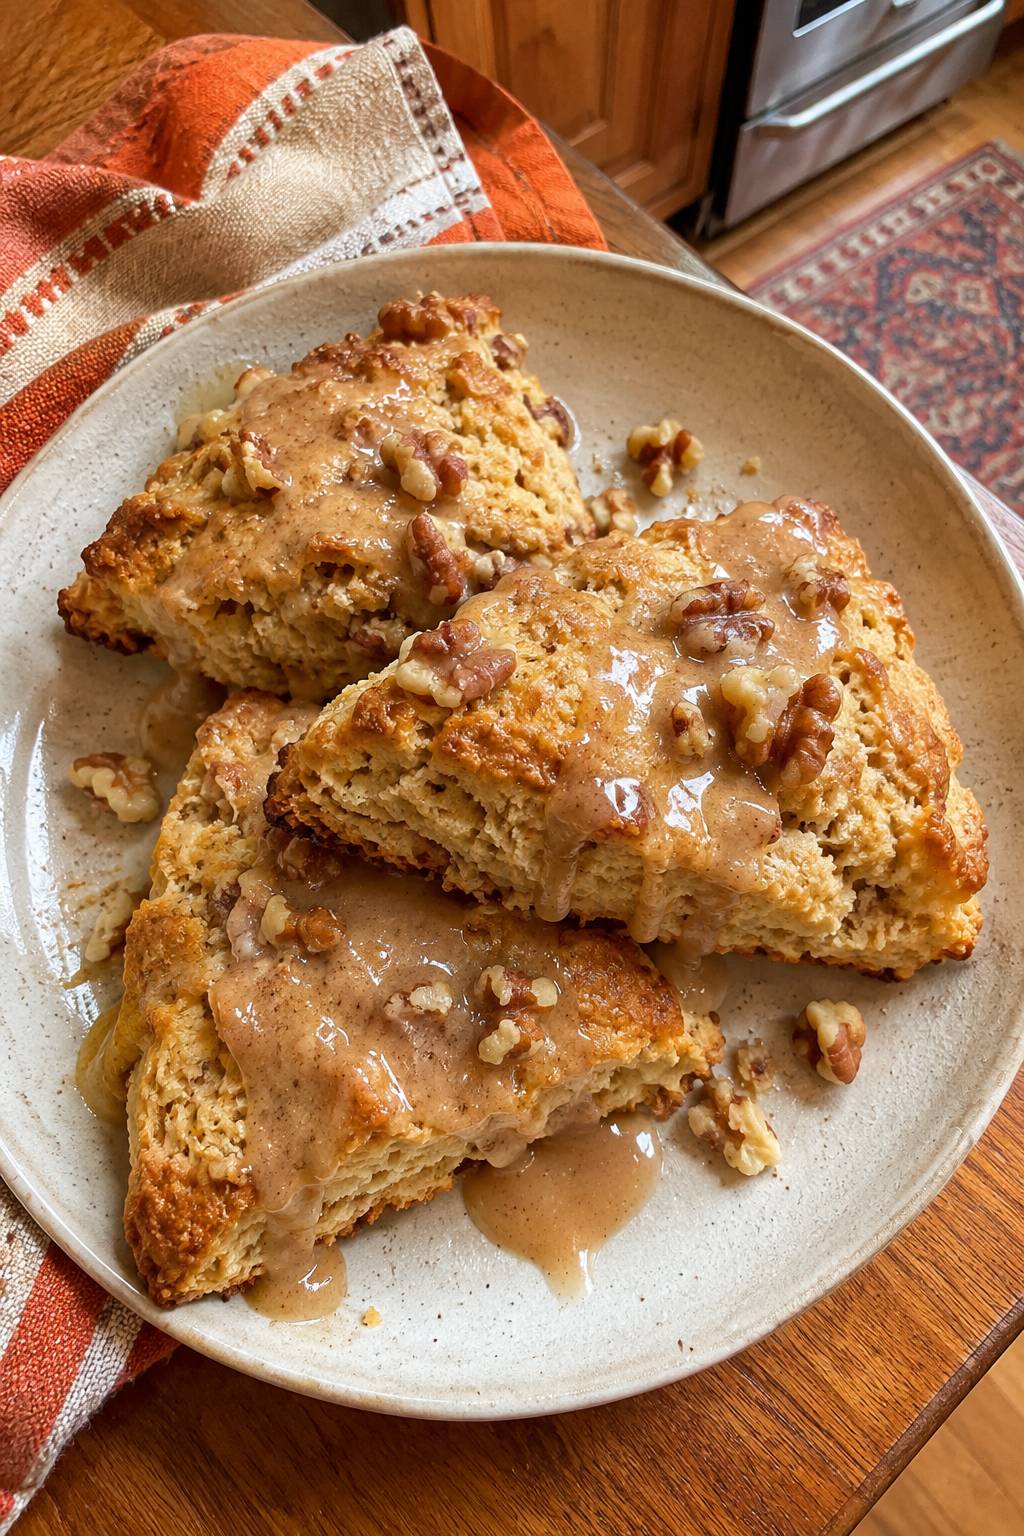
Maple walnut scones are a welcome addition to any breakfast table. These triangles have a tender, flaky crumb, a little crunch from chopped walnuts, and warm maple flavor in every bite. Finished with a glaze made from browned butter, they feel special enough for a holiday morning yet simple enough for a weekday.
If your usual breakfast is a casserole or a tray of baked eggs, these scones offer a handheld change of pace with the same cozy appeal. The dough comes together mostly in one bowl from pantry staples, and the method is forgiving once you understand the few details that matter most. Use the recipe card for exact amounts and times, and use this article to understand why each step works.
Why Cold Butter and Cream Matter
Cold butter is the key to a tender, flaky texture. When you work the cubes into the flour until the mixture looks like coarse crumbs, some pieces should still be about the size of peas. In the oven, those pockets of butter release steam that lifts the dough. Softened butter blends in too much and tends to give you a dense, cakey result instead.
Keep the cream and egg cold too, and mix only until the dough holds together. Stop as soon as no dry flour is visible. Overworking develops gluten, which makes scones tough and chewy. If a few dry bits remain, add a little more cream gradually rather than kneading to smooth them out.
Shaping, Cutting, and Spacing
Pat the dough into a circle with even thickness so every wedge bakes at the same rate. Use a lightly floured surface and a gentle hand. Thick spots stay doughy in the center, while thin edges can dry out and turn hard before the middle is set.
Cut the circle into wedges and space them on the parchment so they have room to rise and brown on all sides. Crowded scones bake up softer along the edges. Handle them lightly when you transfer them, since the cold butter inside is what keeps the layers distinct.
Browning Butter Without Burning It
Brown butter gives the glaze its nutty depth, but it moves from golden to scorched quickly. Use a light-colored skillet so you can see the color change, keep the heat at medium, and swirl the pan often. The foam is water cooking off, and the brown flecks are milk solids toasting. Watch for both the golden color and the nutty aroma.
Once it smells nutty, pour the butter and every fleck into a bowl right away. Leaving it in the hot pan lets it keep darkening, and that bitter edge will come through in the glaze. Those browned bits hold most of the flavor, so scrape them in with the butter rather than leaving them behind.
Glazing for a Glossy Finish
Whisk the powdered sugar, maple syrup, a pinch of salt, and milk into the brown butter until smooth. Add the milk gradually, since a glaze that is too thin will run off the scones and one that is too thick will sit in clumps. Aim for thick but pourable. Spoon it over scones that are still warm, then let it set so it turns glossy.
Frequently Asked Questions
Why are my scones dense or tough?
The most common causes are overmixing the dough or letting the butter warm up before baking. Stop stirring once no dry flour is visible, keep the butter cubes cold, and handle the dough gently. A light touch helps scones stay tender and flaky.
How do I know when the brown butter is ready?
Look for a golden color, small brown flecks at the bottom, and a nutty aroma. Swirl the pan often and watch closely, since butter can go from golden to scorched in moments. As soon as it smells nutty, pour it into a bowl so it stops cooking.
What if my glaze is too thick or too thin?
Add milk a little at a time and whisk after each addition until the glaze is thick but still pourable. Spoon it over warm scones, then let it set for a short while before serving so it looks glossy rather than wet.
Maple Walnut Scones with Brown Butter Glaze
Course: BreakfastCuisine: AmericanDifficulty: Easy8
scones20
minutes21
minutes500
kcal1
hour2
minutesTender triangle scones made with cold butter, cream, and maple syrup, studded with chopped walnuts and finished with a drizzle of brown butter maple glaze. The recipe makes eight scones and bakes in about 17 minutes.
Ingredients
- Scones
2 cups all-purpose flour
1/4 cup granulated sugar
1 tbsp baking powder
1/2 tsp kosher salt
1/2 cup (1 stick) cold unsalted butter, cut into 1/2-inch cubes
1/2 cup cold heavy cream
1 large egg
1/4 cup pure maple syrup
1 tsp vanilla bean paste
3/4 cup chopped walnuts
1 to 2 tbsp heavy cream, if needed
- Brown butter maple glaze
3 tbsp unsalted butter
1 cup powdered sugar
1 tbsp pure maple syrup
1 to 2 tbsp whole milk
Pinch of kosher salt
Directions
- Prep
- Heat the oven to 400°F. Line a large baking sheet with parchment paper.
- Scones
- In a large bowl, whisk together the flour, granulated sugar, baking powder, and 1/2 teaspoon salt. Add the cold butter cubes and work them in with a pastry cutter or your fingertips until the mixture looks like coarse crumbs with some pieces about the size of peas.
- In a small bowl, whisk together the 1/2 cup cold cream, egg, maple syrup, and vanilla bean paste. Pour the mixture over the flour and add the walnuts. Stir with a rubber spatula until a shaggy dough forms. If dry bits remain, add the extra cream 1 tablespoon at a time. Stop mixing as soon as no dry flour is visible.
- Turn the dough onto a lightly floured surface and gently pat it into an 8-inch circle about 1 inch thick. Cut the circle into 8 wedges and transfer them to the prepared baking sheet, spaced about 2 inches apart.
- Refrigerate the scones for 15 minutes so the butter firms up again.
- Glaze
- While the scones chill, melt the 3 tablespoons butter in a light-colored skillet over medium heat. Swirl the pan often as the butter foams, then turns golden brown with flecks that smell nutty, about 4 minutes. Pour the browned butter, including the flecks, into a medium bowl to stop the cooking.
- Scones
- Bake the chilled scones for 16 to 18 minutes, until the tops are deep golden and the centers are set. Cool on the baking sheet for 10 minutes.
- Glaze
- Whisk the powdered sugar, 1 tablespoon maple syrup, pinch of salt, and 1 tablespoon milk into the brown butter until smooth. Add more milk 1 teaspoon at a time until the glaze is thick but pourable. Spoon the glaze over the warm scones and let it set for about 10 minutes before serving.
Notes
- Keeping the butter and cream cold creates pockets of steam in the oven that lift the dough and help the scones bake up tender and flaky.
- Brown butter cooks off water and toasts the milk solids, so watch it closely; once it smells nutty, pour it out of the hot pan to keep it from burning.
- Store cooled scones in an airtight container at room temperature for up to 2 days. Add the glaze just before serving for the best finish.